Level 3 — Capturing your mock-up
This is the step that produces the actual C5-1 deliverable: an image of your Godot layout, annotated, ready for the printed design sheet and the slideshow. A beautiful layout that never leaves the editor earns no marks — it has to become an image you can print and annotate.
What C5-1 asks you to hand in
Your mock-up evidence is submitted as a printed sheet and shown in a slideshow, and every key control must be annotated. So the pipeline is: Godot layout → captured image → annotated image → onto the sheet / slide. This page covers the capture; the annotation is kept brief and tool-agnostic (do it in whatever you like).
3.1 — Set the window to the right shape (optional but worth it)
A capture looks most like a real screen if the preview window is the right size.
- Top menu: Project → Project Settings.
- Display → Window → Size → set Viewport Width / Height to your target
(e.g.
1280 × 720for a desktop screen, or a phone shape if your solution is mobile). - Close Project Settings.

This is still just editor configuration — no code.
3.2 — Capture the layout (the reliable way)
The cleanest capture is a screenshot of the previewed window, because that is your layout at real size with no editor clutter.
- Press F6 to run the current scene. Your layout opens in its own window.
- Take a window screenshot:
Press Cmd+Shift+4, then press Space to switch to window mode, then click the preview window. The image saves to your Desktop.
Press Win+Shift+S (Snipping Tool), choose Window snip, click the preview window. Then paste/save it.
- Close the preview window.
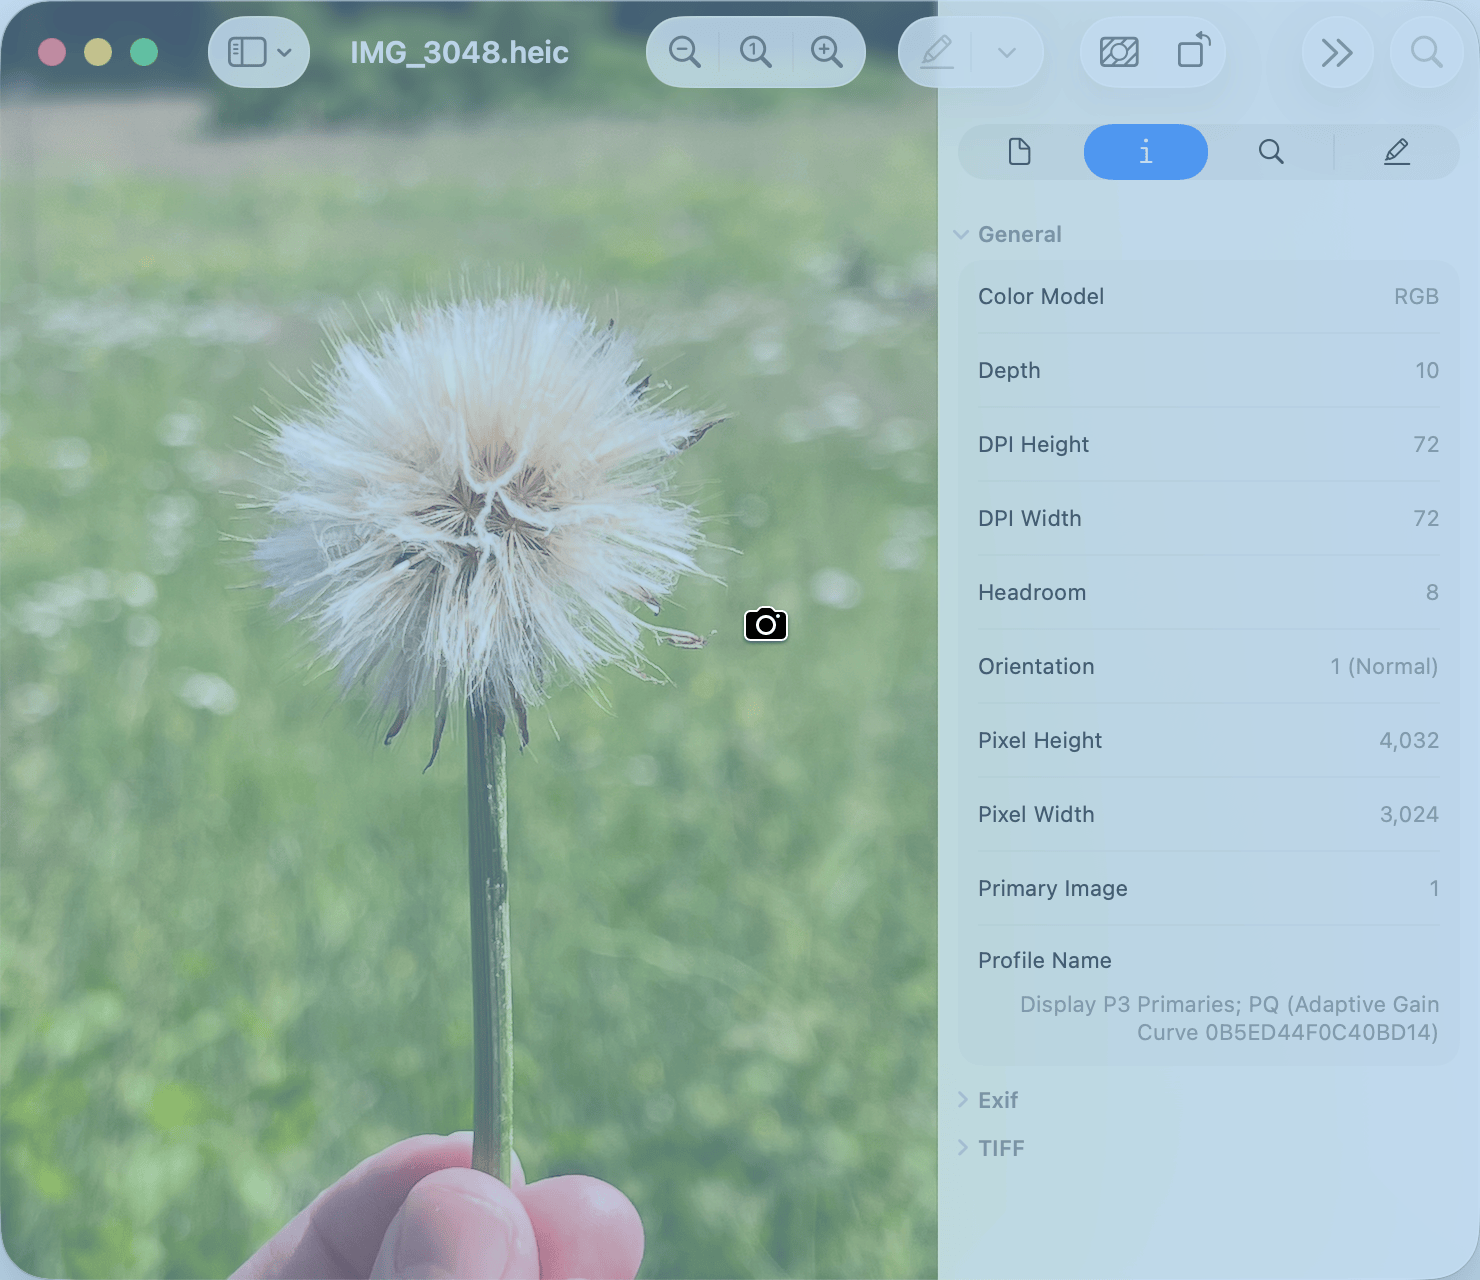
Above: macOS window-capture mode (Cmd+Shift+4 then Space) — the camera pointer highlights a window. Point it at your Godot preview window instead. Image: Apple Support, © Apple Inc.
Alternative: capture the editor viewport
If you cannot run the scene, you can screenshot the viewport in the editor instead — but crop out the docks and toolbar so only the interface shows. The previewed-window method (above) is cleaner because there is nothing to crop.
✓ Check you can do this
You can produce a clean PNG of your layout — just the interface, no editor chrome around it.
3.3 — Capture every screen (completeness)
The rubric's top band wants designs that are complete — that means every screen the user can reach, not just the main one.
- Build each screen as its own scene (or swap the layout and re-capture).
- Capture each one as its own image: login, dashboard, data entry, confirmation, error states — whatever your solution has.
- Show navigation between them somewhere (a small flow diagram, or arrows across your set of images on the sheet).
A single screen caps your mark
One polished home-screen image, however good, sits around the middle of the rubric. Complete interface = all reachable screens + the navigation between them.
3.4 — Annotate the image (brief, and tool-agnostic)
Now make it a mock-up, not just a screenshot. Open your captured image in any annotation tool — Excalidraw, Canva, Google Slides, Preview, Paint, PowerPoint — and add a callout to every key control.
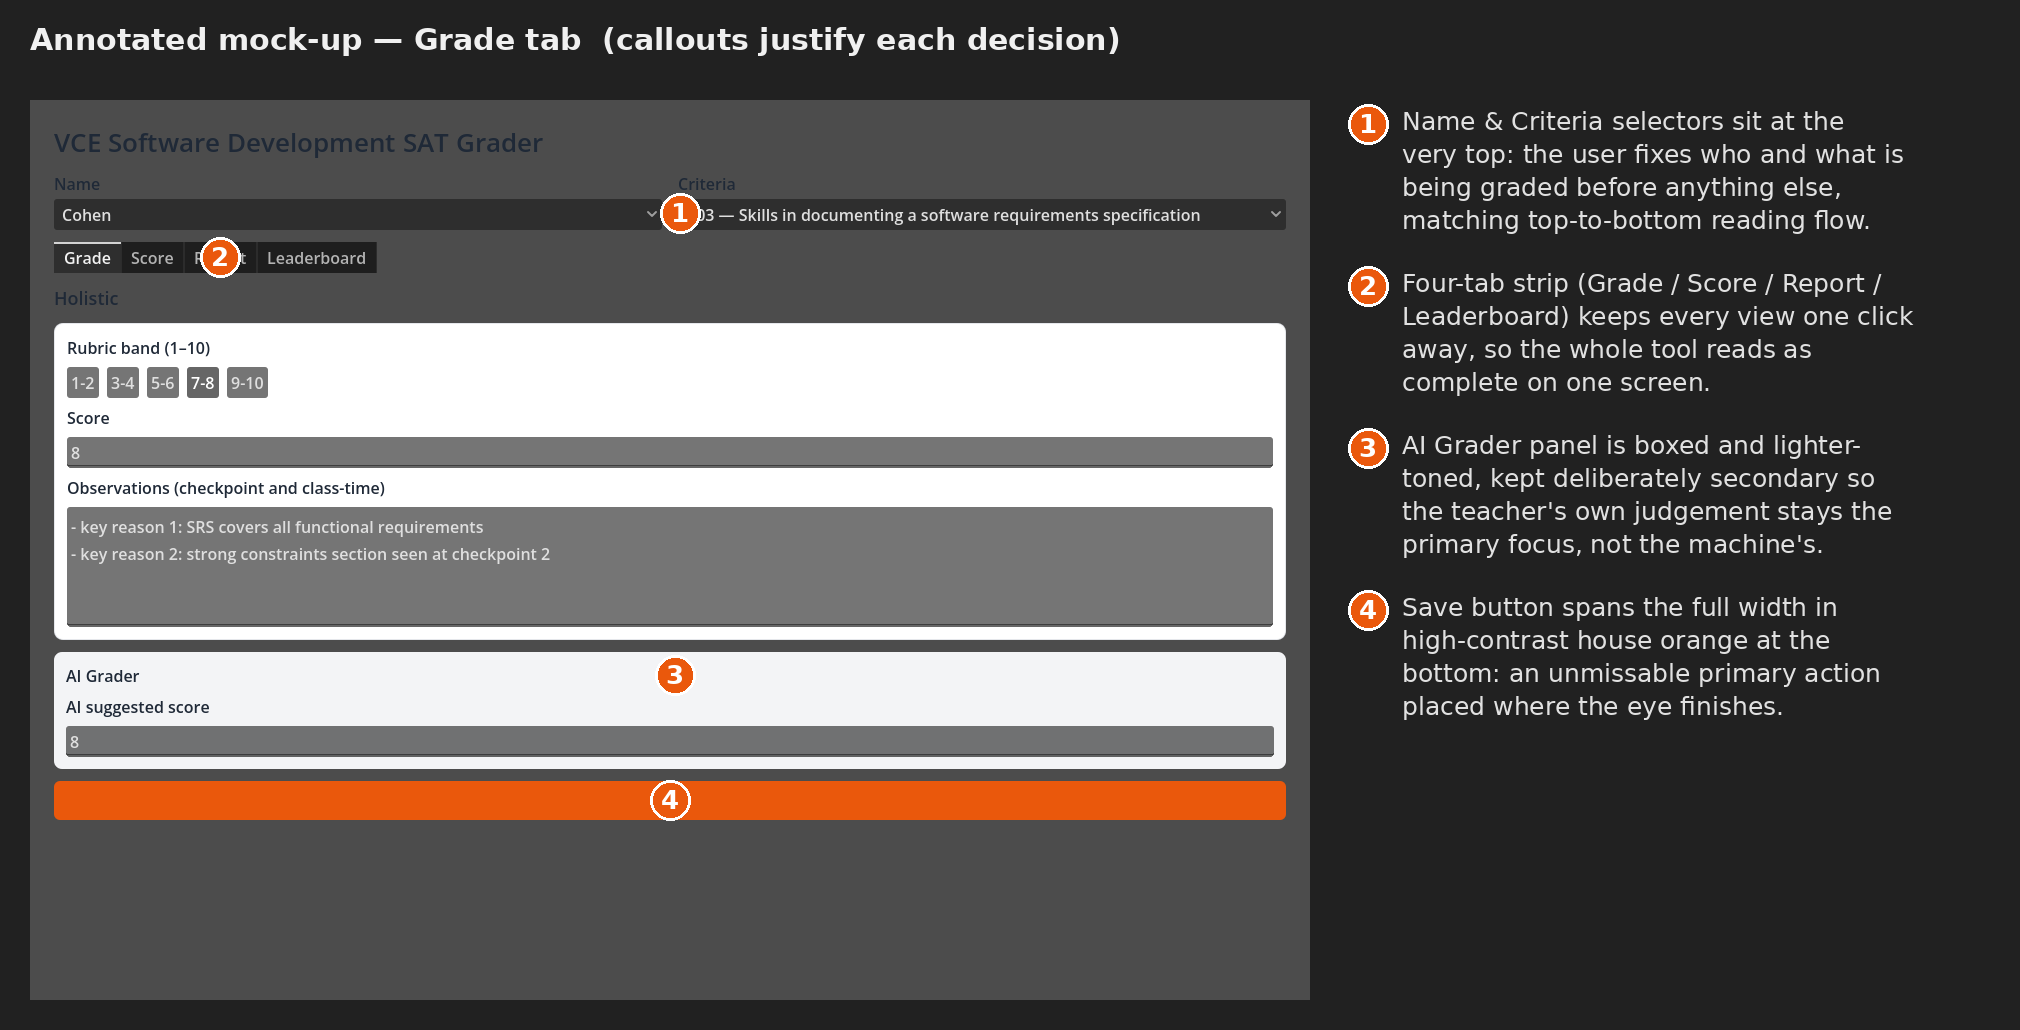
The rule that wins marks: annotate to justify, not to describe.
- ❌ Describe: "This is a blue Save button." (says what is there)
- ✅ Justify: "Orange Save button, bottom-right — high contrast marks the primary action and the bottom-right position matches reading flow, reducing mis-clicks." (says what it does for the user and why it is placed/styled that way)
That is the Describe → Document → Explain climb taught in the class Annotation Verb Ladder. Keep this page's job to capturing; do the deep annotation work with that page open.
3.5 — Onto the sheet and the slideshow
- Place each annotated screen on your printed design sheet (one screen per area, readable when printed — check the text is large enough on paper).
- Put the same images in your slideshow, one screen per slide, so you can talk through your design decisions.
Credit your assets (compulsory)
If you used any icons, fonts, or images that you did not make — even free or CC0 ones — add a small Credits line on your sheet/slide. Crediting sources is an integrity requirement, not an optional nicety.
✋ This is the deliverable — you're done with the core task
You have turned a Godot layout into annotated images on a printed sheet and a slideshow. That is the C5-1 mock-up artefact. The worked layouts are optional extra practice.
Check Your Understanding
-
Why is the previewed-window screenshot cleaner than a viewport screenshot?
Answer
The previewed window shows only your interface at real size, with no editor docks or toolbar to crop out.
-
A student submits one annotated home screen. What is missing for a top-band mark?
Answer
The complete interface — every screen the user can reach, plus the navigation between them. One screen caps the mark mid-rubric.
-
Rewrite "This is a blue Save button" so it would actually score.
Answer
Name the design decision and its reason, e.g. "High-contrast orange Save button placed bottom-right: contrast marks it as the primary action and the position matches the user's reading flow, reducing accidental clicks." (Justify, don't just describe.)
→ Optional practice: Worked layouts — rebuild a real screen, layout only.