Building Your C5-1 Mock-up in Godot
The Hamilton and Alexandra College · VCE Software Development · Unit 3–4 · 2026
This site teaches you to lay out your C5-1 user-interface mock-up inside the Godot 4.6 editor. You will not write a single line of code. Every step is an editor action: add a node, drag it into a container, set a property in the Inspector, anchor it to a corner.
Why build the mock-up in Godot?
In C5-1 a mock-up is a design tool, not a finished program.
Mock-up — an annotated visual representation of the user interface of a software solution, used to aid in the design of an interface. (C05 essential terms)
The top band of the rubric asks for designs that are "feasible and complete." A drawing in Excalidraw or Figma can look finished while hiding layouts that no real toolkit could actually produce. When you build the same screen in Godot — the toolkit your project is actually made in — the layout is feasible by construction: if Godot can show it, it can be built. That is the whole idea behind this tutorial.
So in this approach, the Godot layout is the high-fidelity mock-up. You arrange real controls — buttons, labels, panels, tabs — with real text and real colours, then capture the screen as an image for your folio.
One alignment note (the C05 materials win where they disagree)
The study design says a mock-up is an annotated visual representation — annotation is part of the definition, not an extra. Godot gives you the high-fidelity visual; it does not add the annotations for you. So the full C5-1 artefact is: Godot layout → captured as an image → annotated. This site takes you to the captured image (Level 3); the annotation itself is done in any tool you like and is covered by the class pages Sketch vs Mock-up and The Annotation Verb Ladder. A polished Godot screen with no annotations is still not a valid VCE mock-up.
What this site is — and is not
In scope: the Godot UI editor, and nothing else
Building the visual interface in the Godot 4.6 editor — Control nodes, containers, anchors, and Inspector properties. That is the entire scope.
Out of scope (these are separate C5-1 tasks)
- GDScript, signals, behaviour — any "make the button do something".
- Other design tools — IPO charts, pseudocode, data dictionaries, object descriptions, class diagrams.
Whenever a step would need code to go further, this site says "out of scope" and stops. A mock-up is a picture of the interface; it never runs logic.
How to succeed: independence, not completion
The goal is not to finish every level. The goal is that, once you have done the foundations, you can follow any Godot tutorial or the official docs on your own. Most students will do Levels 0–1 and stop — and that is a success.
Each level ends with a clear marker:
✋ You can stop here and still be capable
When you see this box, you have reached a genuine stopping point. Everything after it is optional polish or extra practice.
The levels
| Level | What you learn | Stop here if… |
|---|---|---|
| 0 — Orientation | The editor itself: docks, nodes, saving, previewing. Goes very slowly. | …you have never opened Godot. Start here no matter what. |
| 1 — Foundations | Control vs Node2D, anchors, the five container types, the Inspector. The independence threshold. | …you can now read an external tutorial and follow along. Most students stop here. |
| 2 — Theming & polish (optional) | StyleBoxFlat + Theme resources; the house colours. | …you want your mock-up to look more finished. |
| 3 — Capturing your mock-up | Exporting the layout as an image for the printed sheet and slideshow. | …this is the C5-1 deliverable — do it once you have a layout worth submitting. |
| Worked layouts (optional, pick one) | Rebuild a real screen from the class Mock-ups page, layout only. | …you want a guided, full-screen example to copy the moves from. |
There is also a Glossary that maps every C05 term onto the word Godot (and YouTube creators) actually use for it.
Before Level 0: get into the editor
You need the Godot 4.6 editor. Pick one:
- Open godotengine.org → Download → the Godot Engine build (the standard one, not “.NET”, unless your class uses C#).
- It downloads as a single file. Unzip if needed and double-click to run — there is no installer.
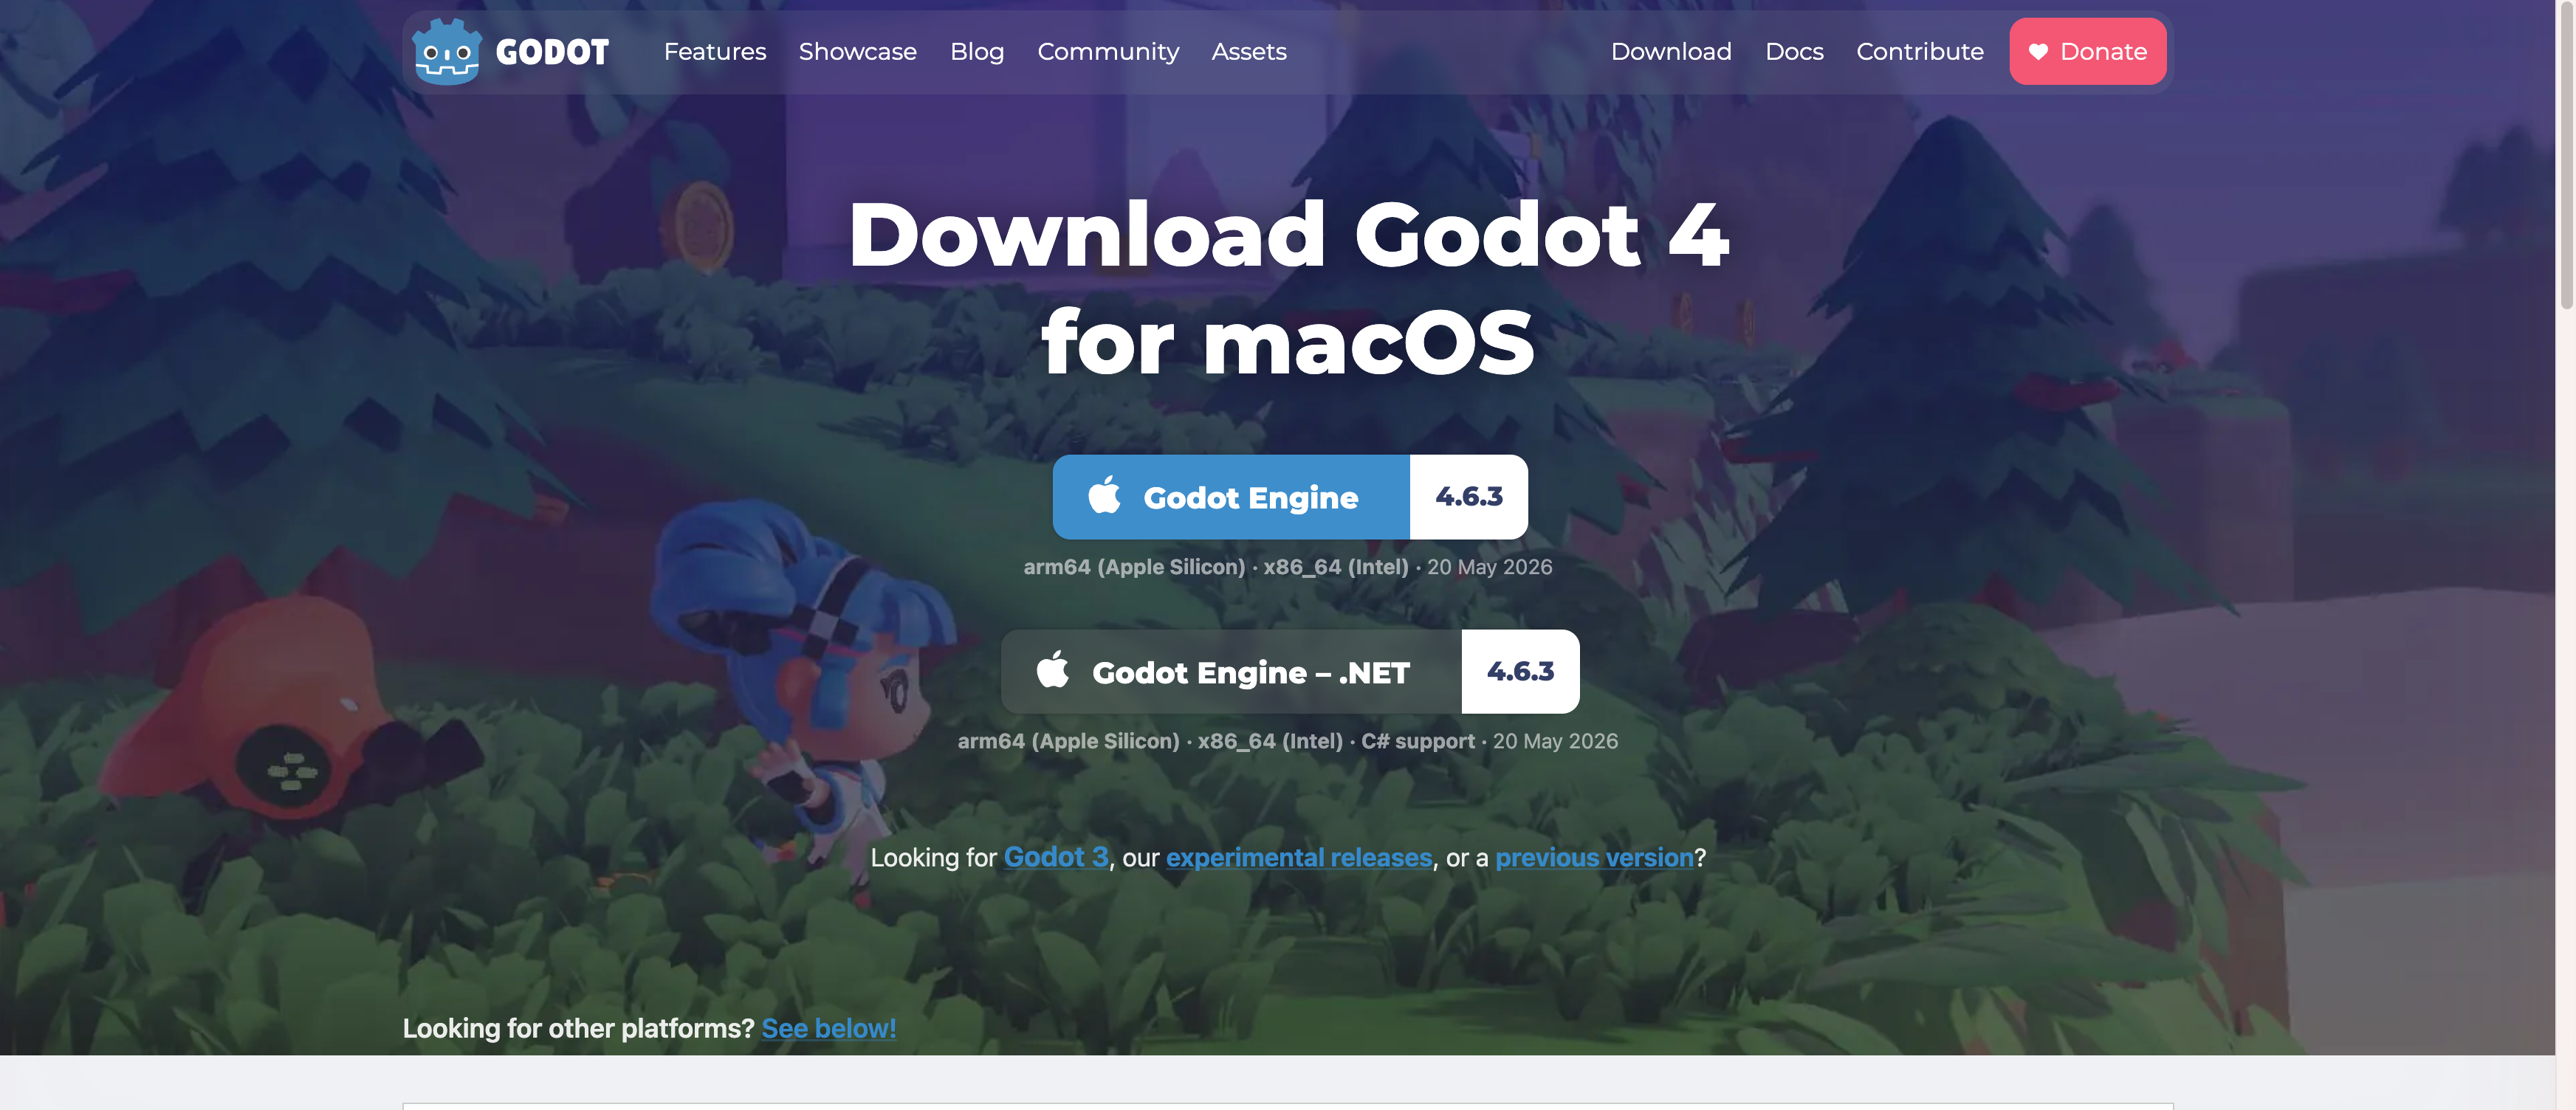
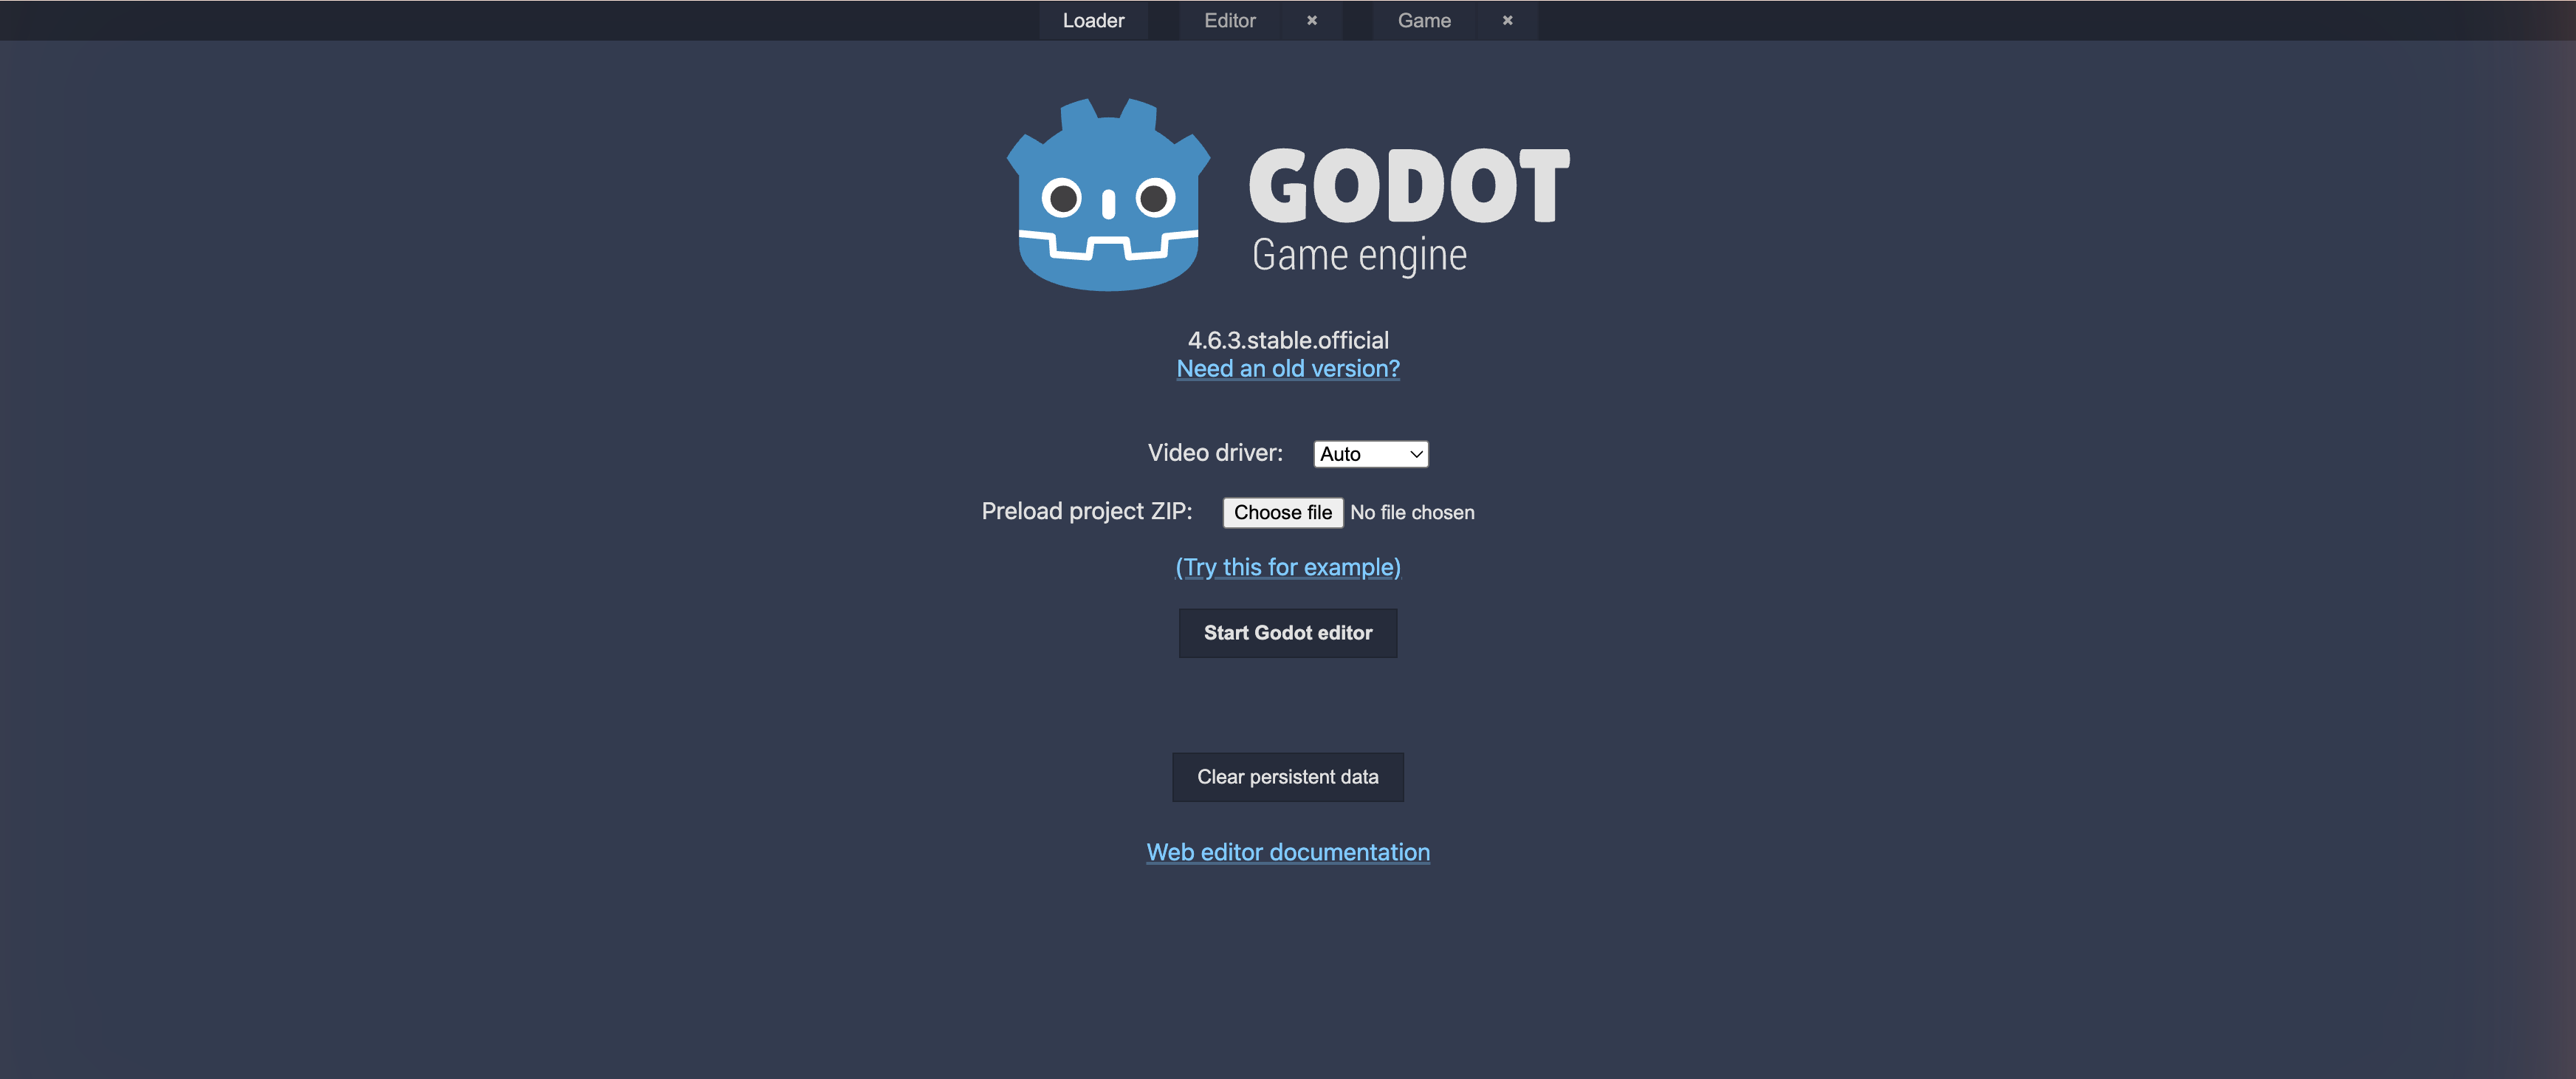
Open editor.godotengine.org/releases/latest/ in Chrome or Edge. It runs the real editor in your browser — handy on a locked-down school laptop. It is slower to load and your project lives in the browser, so save often and export your work.
Either way, the menus, docks, and steps in this tutorial are the same.
A word on screenshots
Some pictures on this site are still placeholders that say “screenshot to be captured.” They mark exactly where a real editor screenshot will go. Your editor will look like the descriptions even where the picture is not in yet — follow the words and you will be fine.
→ Start with Level 0 — Orientation.